How to Make a Loaded Bible (What It Is, What To Use + What To Put Inside It)
There’s something special about a Bible that’s been truly lived in — and if you’re here, you’re ready to start building one.
This post is your complete bible study corner for everything related to making a loaded Bible: what it is, how to make one, what to put inside it, and how to keep it growing over time.
Whether you’re here to build your very first loaded Bible, put together a meaningful gift for someone you love, or just gather ideas and inspiration for your next Bible study session, this guide is meant to walk with you from start to finish.
In this guide, we’ll walk through exactly what a loaded Bible is, what supplies you need, a full step-by-step for making one, and what to actually put inside it — so by the end you’ll have everything you need to build one yourself.
No experience necessary, and no “right” way to do this — just grab a Bible, a few supplies, and let’s get started.
What Is a Loaded Bible?
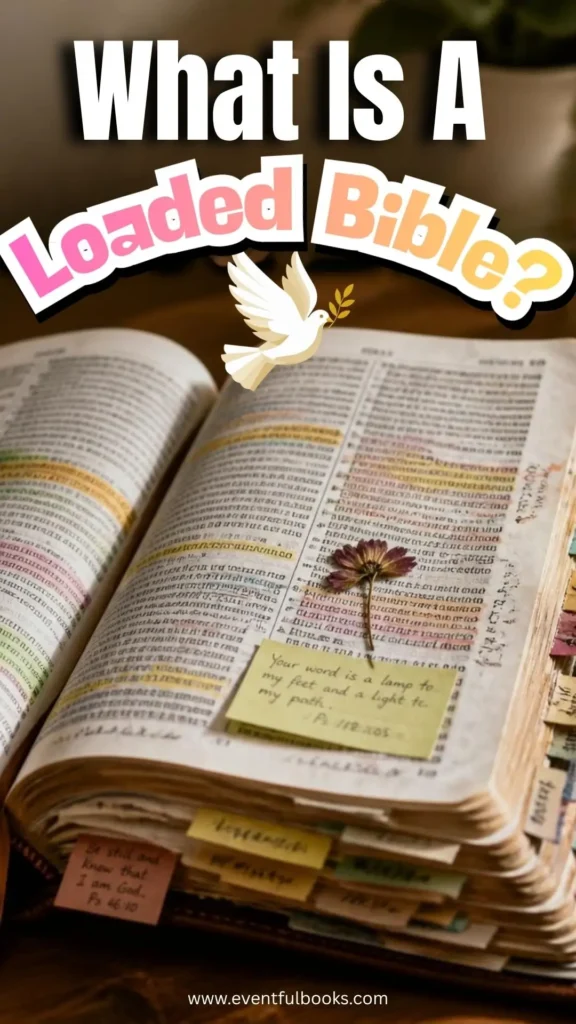
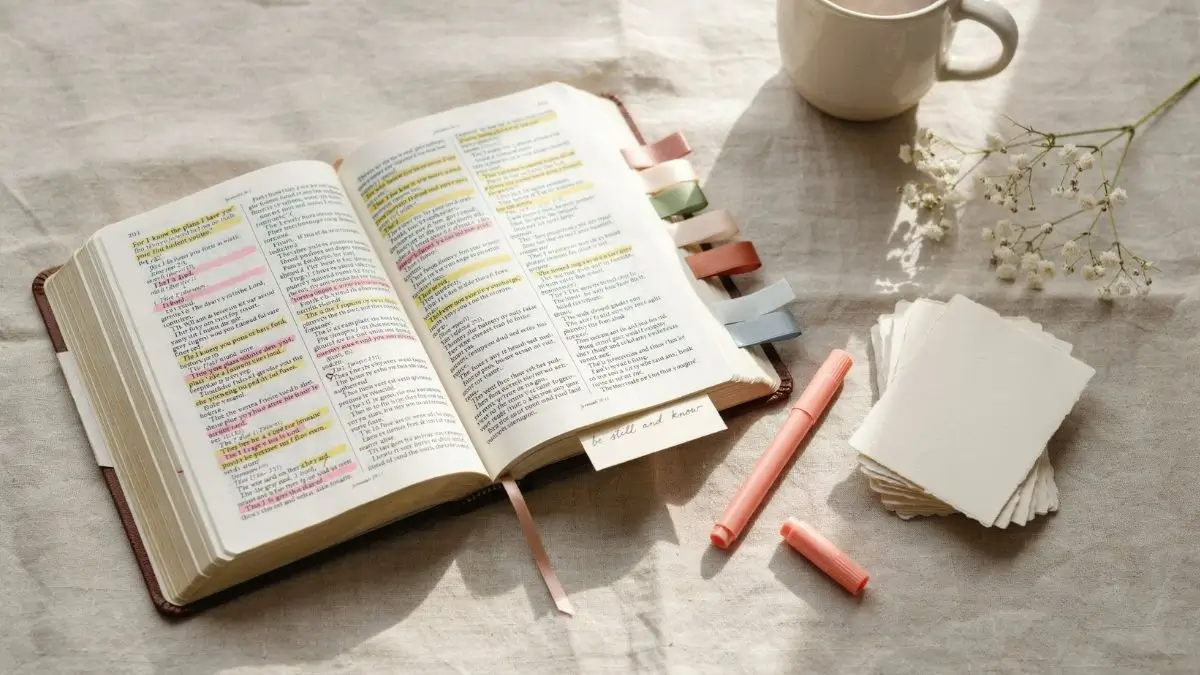
A loaded Bible is a personalized copy of Scripture that’s been filled with tools to make time in Gods Word easier, richer, and more personal — tabs to navigate by topic, verses highlighted by theme, sticky notes, devotional tip-ins, and small personal touches tucked between the pages.
Think of it less as a decorated book and more as a toolkit for daily reading, one that turns a standard Bible into something built around how you actually study and pray.
The idea has been picking up steam as a loaded Bible trend across Pinterest and Instagram, where creators share flip-throughs of their finished pages — tabbed by book, color-coded by theme, dotted with handwritten notes in the margins.
But it’s not just an aesthetic trend. For a lot of people, it’s become a genuinely practical tool for staying consistent in Scripture, and a meaningful gift idea for someone starting or deepening their walk with Jesus.
They even show up often as a great first-Bible gift, a baptism or confirmation gift, or a thoughtful Christmas present for someone you love.
A well-made one tells the recipient, right from the first page, that this book is meant to be lived in, not just owned.
Wait, Is decorating a Bible cover disrespectful?
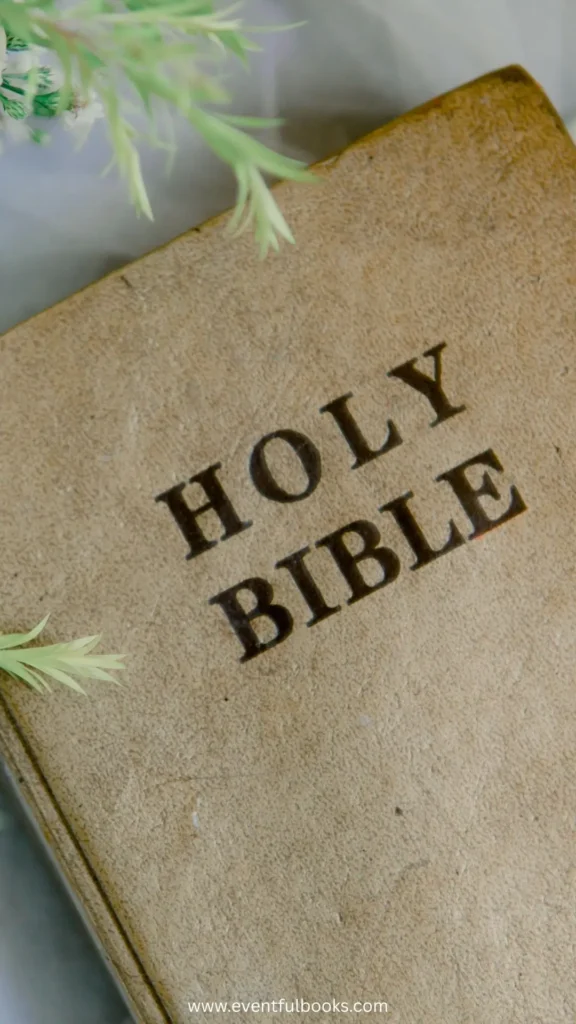
If you’ve never heard of a loaded Bible before, your first instinct might be hesitation — is it okay to highlight, tab, and decorate something as sacred as Scripture? It’s a fair question, and one worth answering honestly before you pick up a highlighter.
For most Christian traditions, the answer is no, it’s not disrespectful — it’s the opposite. Highlighting a verse, adding a tab, or tucking a handwritten note into the margins is generally seen as a sign of engagement, not carelessness.
It shows the book is being read, wrestled with, and returned to again and again, rather than left untouched on a shelf. Many pastors and Bible study leaders actively encourage marking up a Bible as part of building a real, lived-in relationship with the text.
Another hesitation people run into isn’t about respect — it’s about ability. A lot of first-timers assume a loaded Bible needs to look like the polished, color-coordinated flip-throughs they’ve seen online, and worry they’re just not “crafty” enough to pull it off.
Here’s the honest truth: decoration is a small part of what makes a loaded Bible meaningful. The stickers, washi tape, and ribbons are nice touches, but they’re not the point.
The real value is in the highlighting, the notes, and the time spent in the text — creativity is the garnish, not the meal. A loaded Bible made with three tabs and a few honest notes in the margin is just as “real” as one with fifty.
So if you’ve been holding off because it felt like you needed permission, or needed to be good at crafting first — you don’t need either. You just need a Bible and a willingness to start.
What Supplies Do You Need To Make a Loaded Bible?
Before you dive in, it helps to gather your favorite supplies so you’re not stopping mid-project to order something you forgot. The good news: you don’t need much to get started, and you can always add more as you go.
A wide-margin or journaling Bible. This is the one non-negotiable. A standard Bible has thin, closely-set pages that bleed through with markers and leave no room to write. Look for a “journaling Bible” or “wide-margin Bible” edition — most major translations offer one, and it gives you the physical space to actually build a loaded Bible without wrecking the pages. If you’re starting with a brand-new Bible, this is the moment to pick the right one, since it’s much harder to switch once you’ve already begun tabbing.
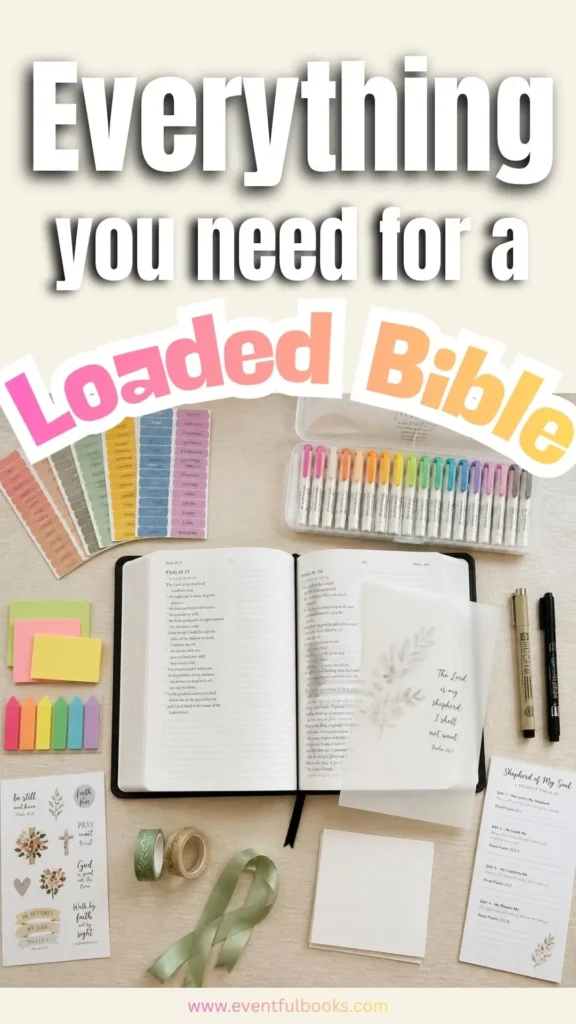
Bleed-proof highlighters or colored pencils. Regular highlighters will soak through thin Bible paper, so look for ones made specifically for Bible journaling — they’re marketed as “bleed-proof” or “Bible-safe” and are worth the extra cost. Fine-tip pens keeps handwriting from bleeding through as well.
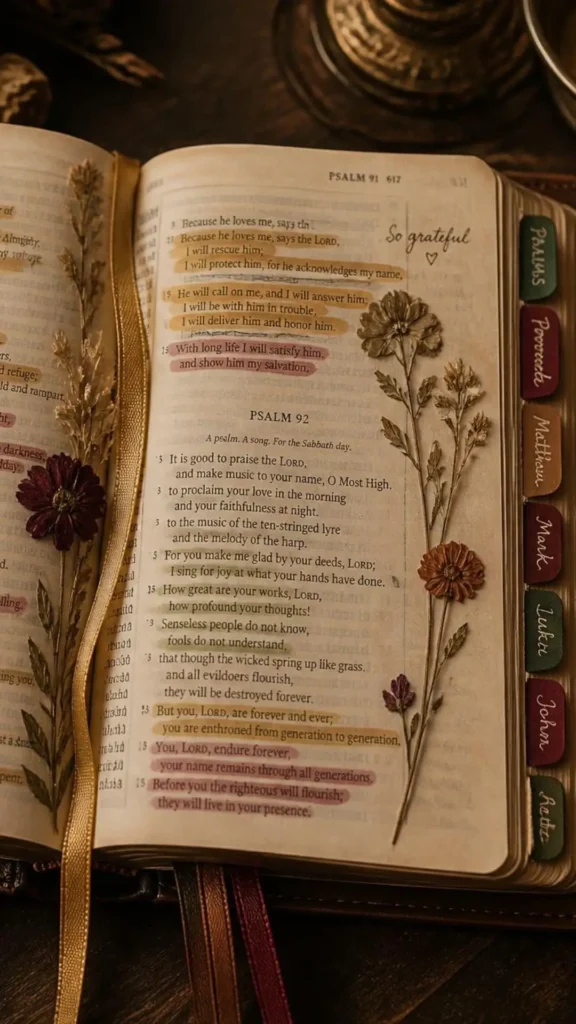
Bible tabs. Pre-printed or blank sticker tabs that mark either the books of the Bible or custom categories (topics, themes, life seasons). These are what make the whole thing navigable, so they’re worth prioritizing early.
Sticky notes and page flags. For quick call-outs, temporary markers, or flagging a verse you want to come back to later.
Christian Decal Stickers – For quick faith-based designs with Bible verses and words of wisdom.
Washi tape and bookmark ribbons. Purely decorative, but useful for bookmarking, sectioning off tabs, or adding a bit of color to the edges of pages.
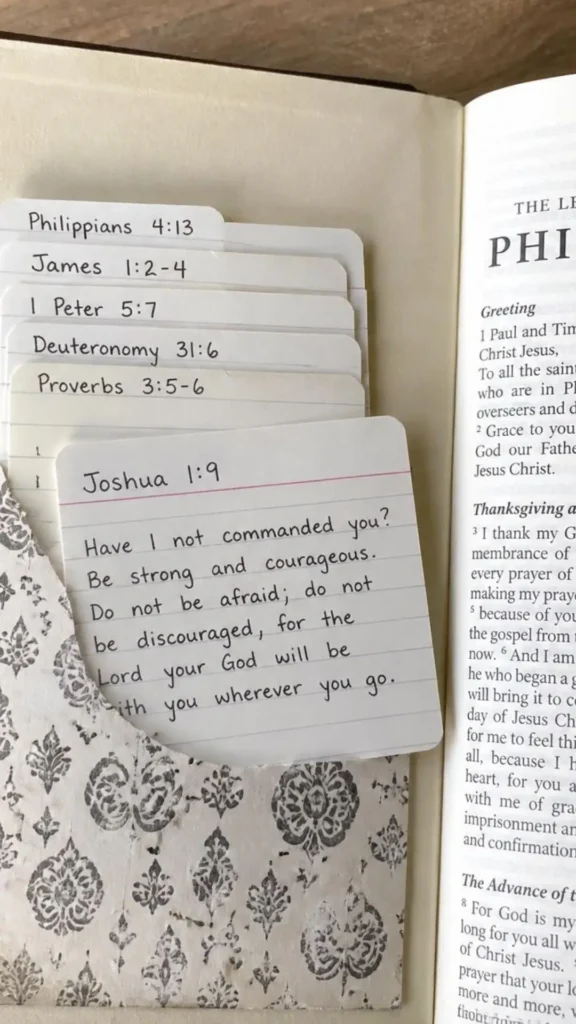
Tip-in pages and Bible study guide inserts. Small cut-to-size paper works well for devotional tip-ins, handwritten notes, or prayer lists tucked between pages.
Bible page overlays. Smooth semi transparent feel image overlays that allow light to pass through while keeping the scripture visible.
None of this needs to be expensive or elaborate. A tabbed, highlighted Bible with a handful of sticky notes is a fully “loaded” Bible — the list above is a ceiling to work toward, not a floor you need to clear before you start.
How to Make a Loaded Bible (Step-by-Step)
Step 1: Choose the Right Bible
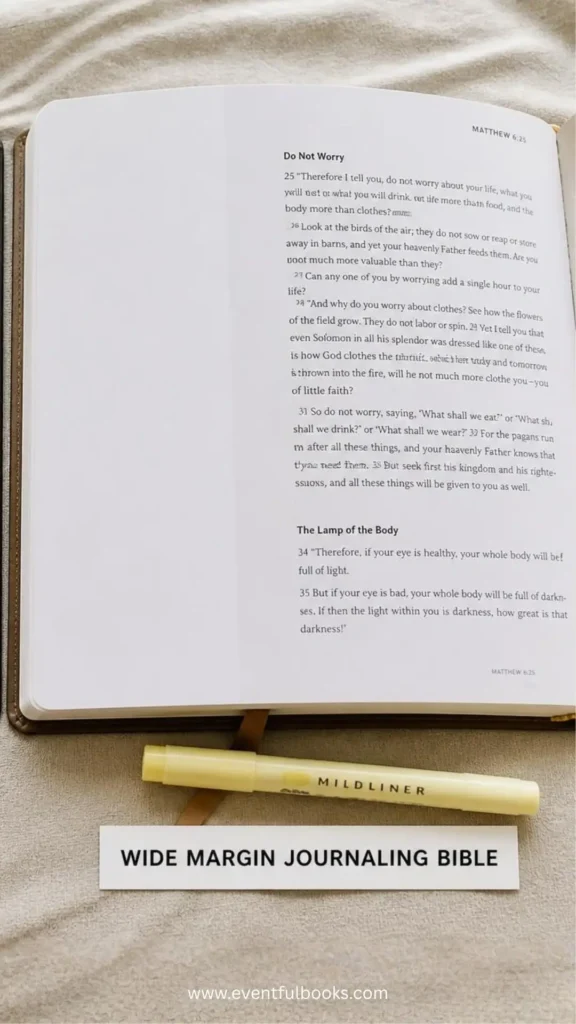
Start with a wide-margin or journaling Bible — as covered in the supplies section, standard Bible paper is too thin to hold up to highlighters and pens. This choice sets the foundation for everything else, so it’s worth getting right before you buy tabs or highlighters.
Step 2. Pick a Suitable Translation
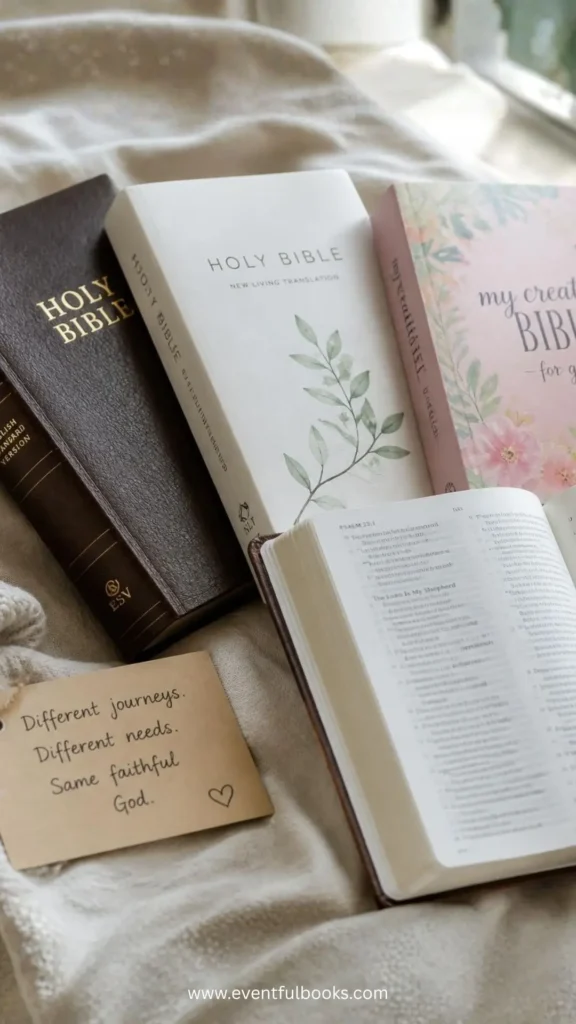
If you’re making this for yourself, choose a translation you already read comfortably. If it’s a gift, think about the reader: a more literal translation for someone who already studies Scripture closely, or a clearer, easier-to-read translation for a new believer or a younger reader.
There’s no wrong choice here, just a more thoughtful one. Check out our full guide to learn more about bible translations and which one is right for you.
Step 3: Gather Your Supplies
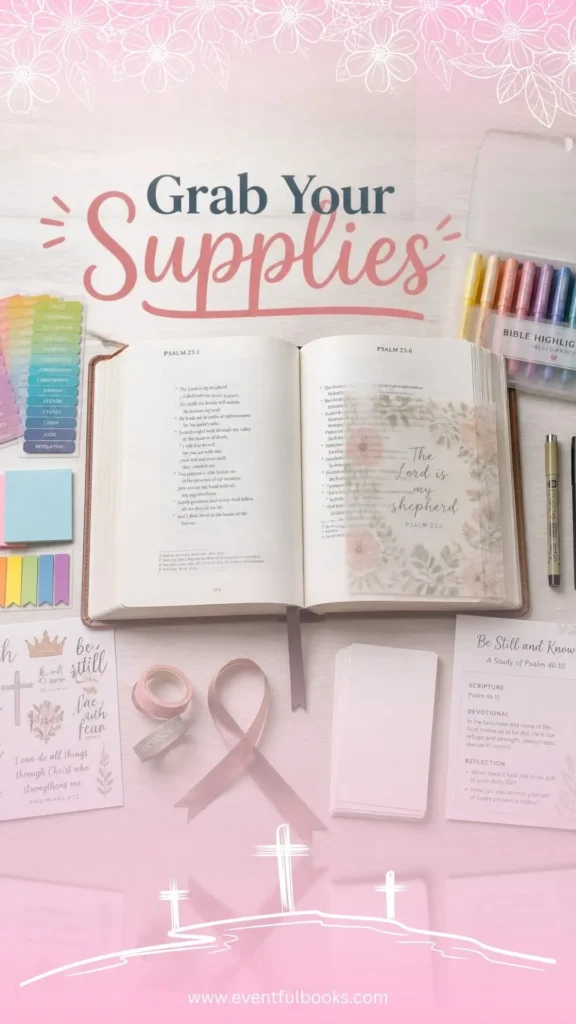
Pull together everything from your supply list — tabs, highlighters, sticky notes, paper for tip-ins — before you start, so you’re not stopping mid-project. (See the full supply list above if you haven’t gathered these yet.)
Step 4: Decide on Your Tabbing System
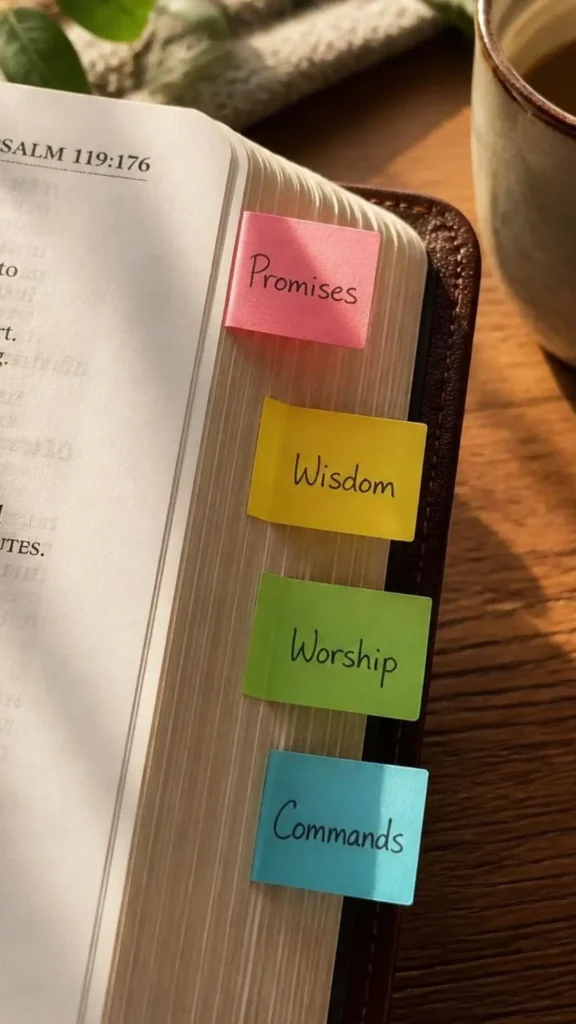
This is the decision that shapes the rest of the project, so make it before you start tabbing. Three common approaches:
- By book — the traditional approach, simple navigation straight to Genesis, Psalms, John, and so on.
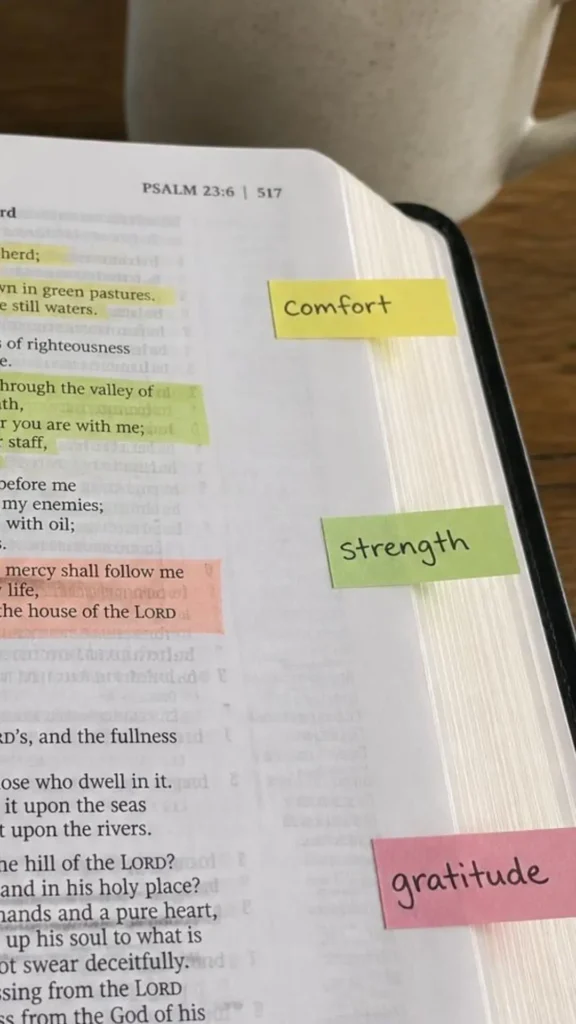
- By mood or theme — tabs for comfort, gratitude, anxiety, strength — useful if this Bible is meant to be reached for in specific moments.
- By theological category — tabs for promises, commands, wisdom, and worship, which groups verses by the kind of truth they hold rather than where they sit in the book.
You can also combine systems — book tabs down the side, theme tabs across the top — but pick a starting structure so the rest of the process has direction.
Step 5: Highlight Key Verses by Theme
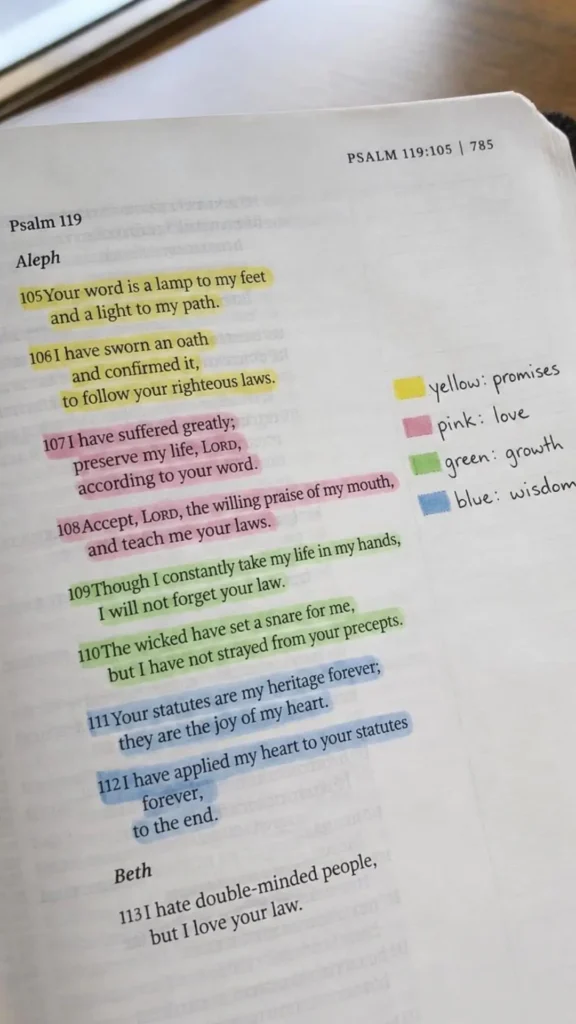
Once your tabbing system is set, go through and highlight your favorite passages using a consistent color code — for example, yellow for promises, pink for verses about love, green for growth or wisdom.
Consistency matters more than the specific colors you choose, since the whole point is being able to flip back later and instantly know what a highlighted verse means at a glance.
Step 6: Add Cross-References in the Margins
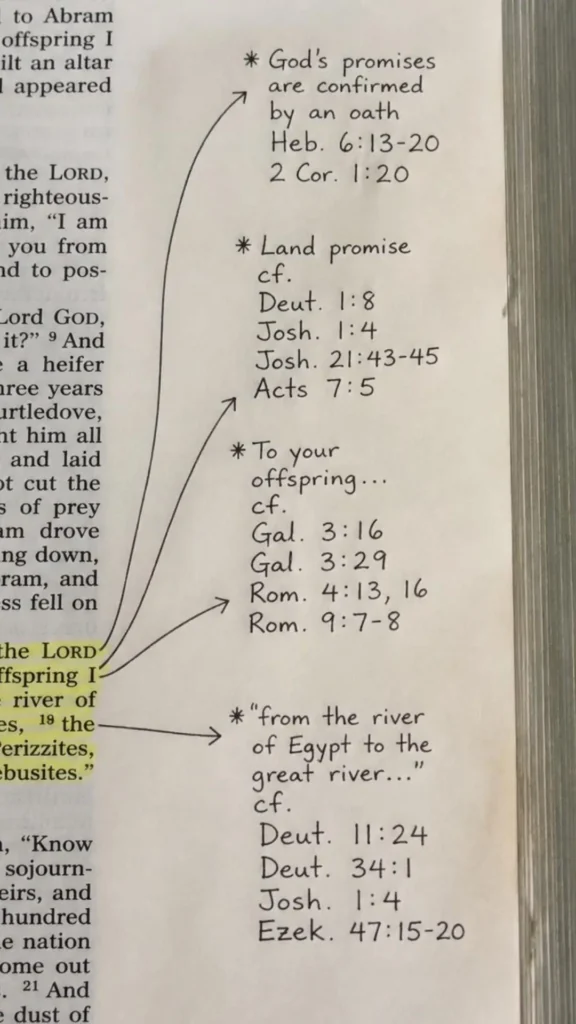
Next to a highlighted verse, jot down references to related verses elsewhere in Scripture. This turns individual highlighted verses into a connected web you can follow — start at one promise and trace it through three or four other books.
Step 7: Add Tip-Ins and Devotional Notes
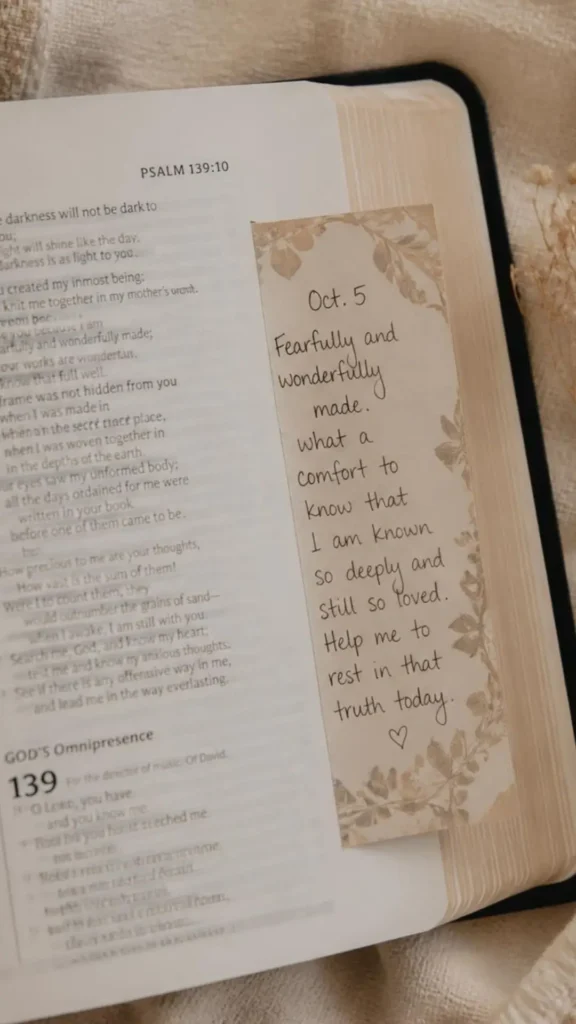
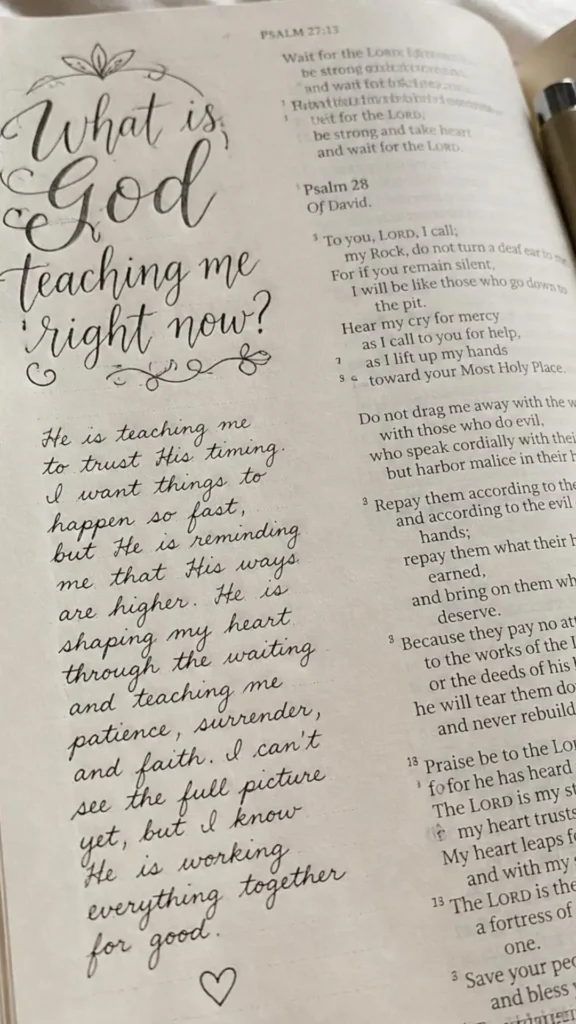
Tuck in loose inserts between pages — a devotional reading, a printed quote, or a short note tied to a specific verse. Include blank reflection pages too, not just pre-written material, so there’s space to write your own thoughts the next time you sit down with this passage.
Step 8: Add Personal Touches
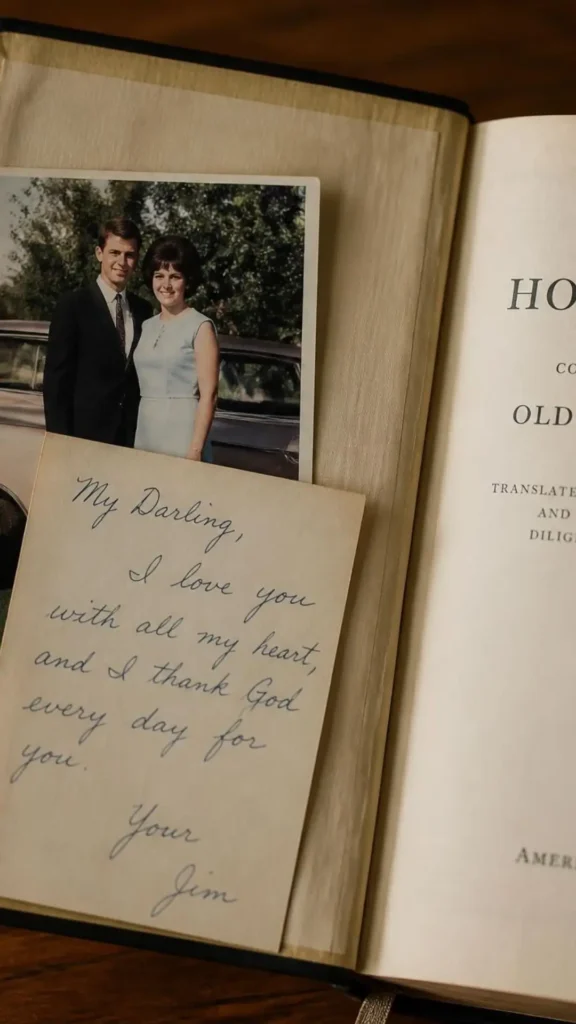
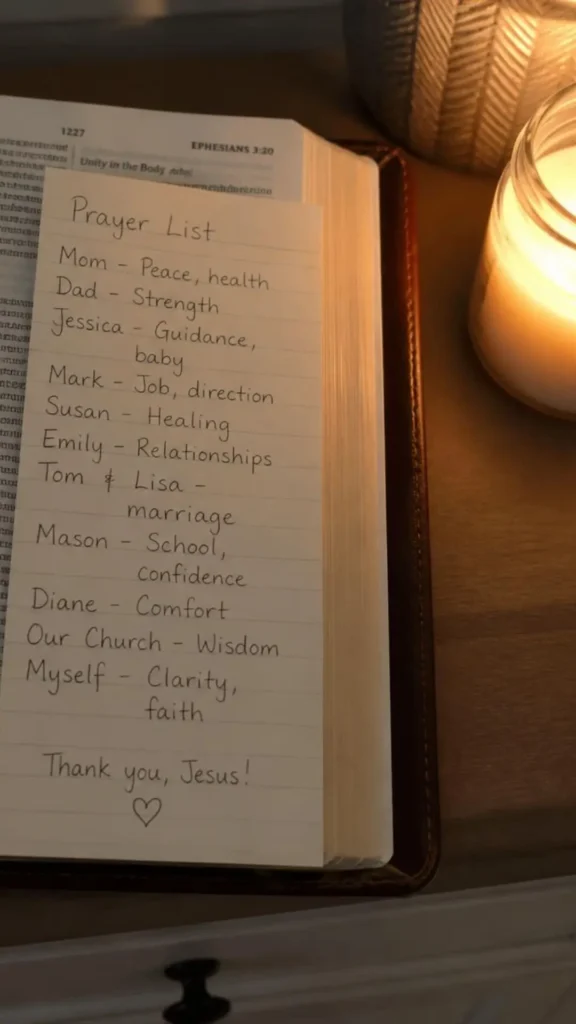
This is where a loaded Bible becomes personal rather than just organized: handwritten letters, photos, a short prayer list, or a note explaining why a particular verse mattered to you. If you’re gifting this Bible, this step is often what the recipient remembers most.
Step 9: Add Stickers and Decorative Elements
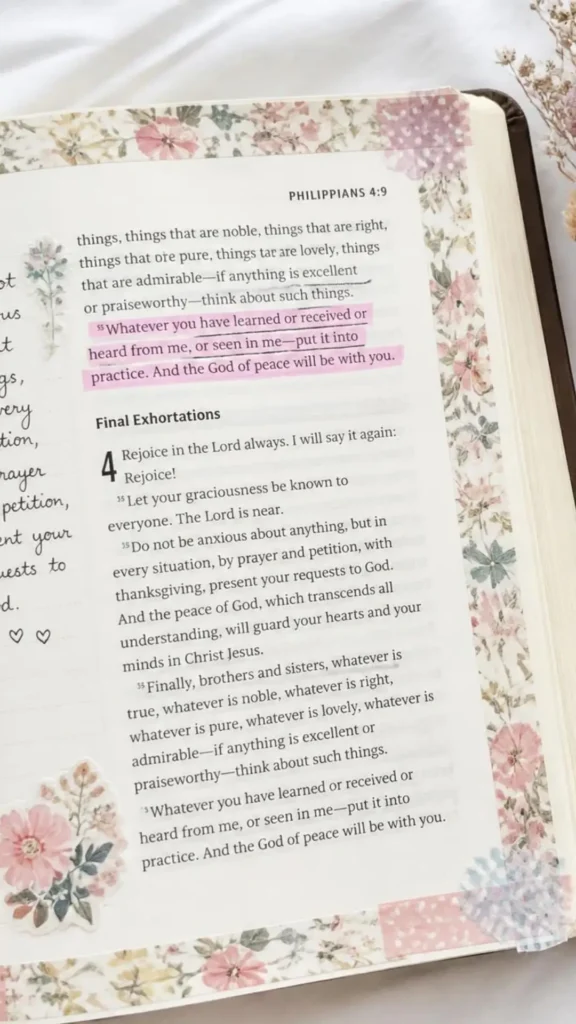
Stickers, washi tape, and other decorative touches go last, since they’re the most optional part of the process — nice for personality, but not required for the Bible to be “finished.”
Step 10: Package It, If Gifting
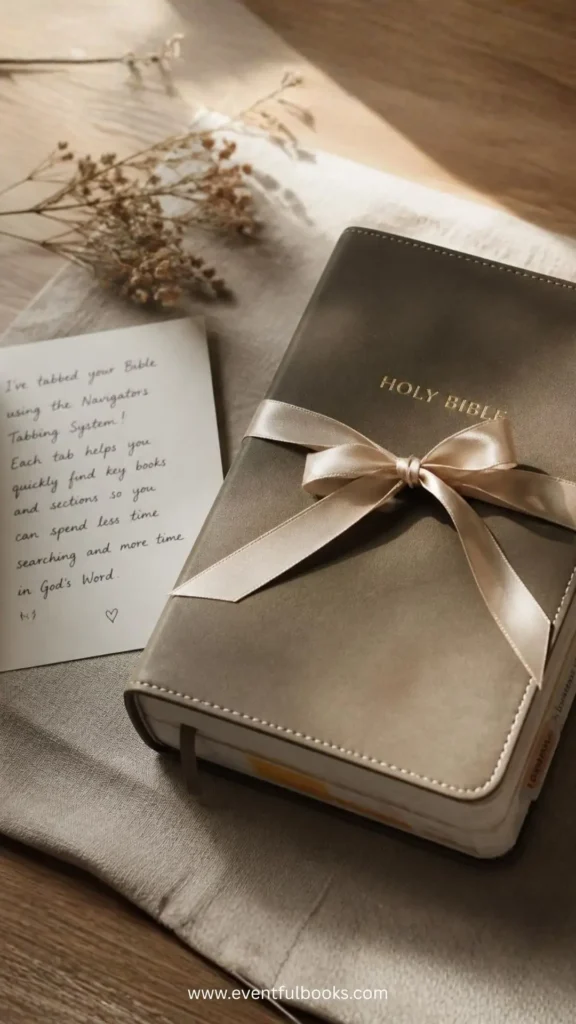
If this loaded Bible is a gift, finish with simple packaging — ribbon, a box, or a handwritten card explaining the tabbing system you used, so the recipient knows how to navigate it from the first page.
What Should You Put in a Loaded Bible? (Checklist)
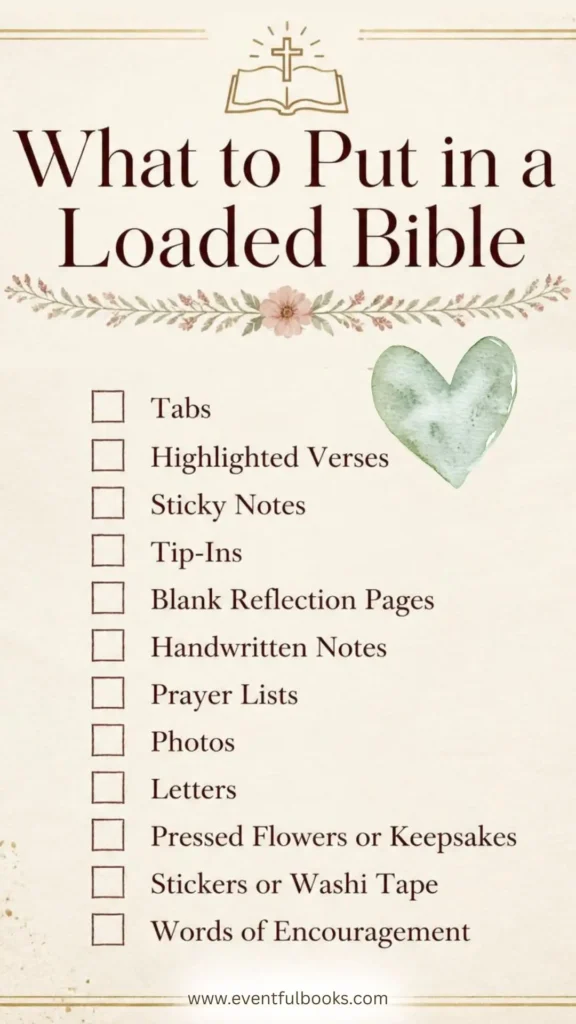
If you’re still gathering ideas for what actually goes inside a loaded Bible, here’s a running checklist to pull from. You don’t need all of it — pick what feels meaningful and build from there.
This list works as a starting point — most people don’t include everything at once, and a loaded Bible tends to grow over time rather than being “finished” in one sitting.
What Verses Should You Highlight in a Loaded Bible?
Once you’ve settled on a tabbing system, the next question is usually: which verses actually go in it?
There’s no single right list — the best loaded Bible is one filled with verses that mean something to you — but a few themed categories give you a solid starting framework, especially if you’re staring at a blank Bible and don’t know where to begin.
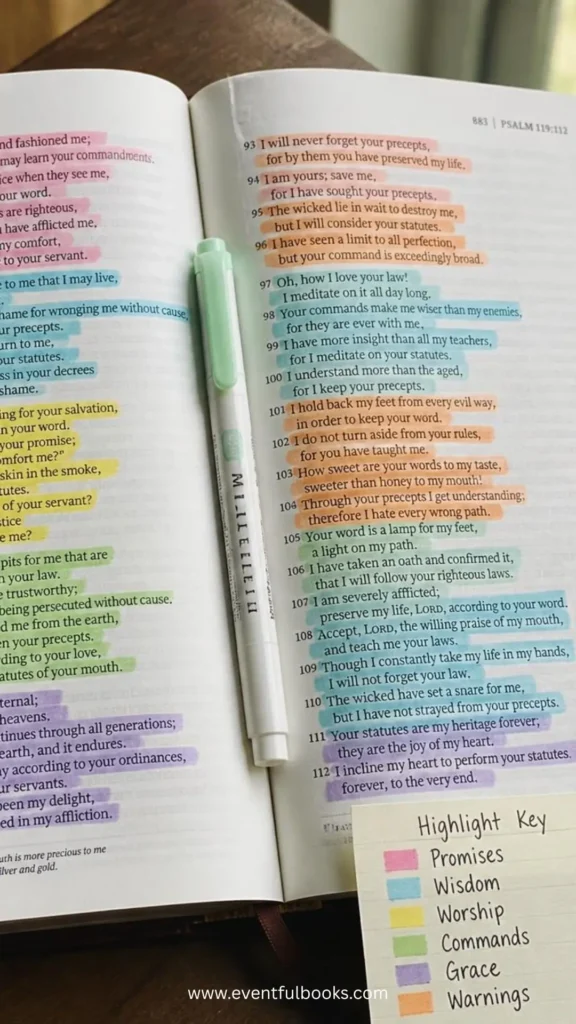
- Promises. Verses where God makes a direct assurance — about provision, presence, or faithfulness. These are often the most-returned-to pages in a loaded Bible, especially during hard seasons.
- Wisdom. Verses offering guidance for decisions, relationships, or daily life — practical rather than purely comforting.
- Worship. Verses centered on praise and gratitude, useful for anyone who wants a go-to section for prayer or quiet time.
- Commands. Verses that give direct instruction — not to make the Bible feel like a rulebook, but to have a clear reference point for how to live it out.
- Grace. Verses that speak to forgiveness and unearned mercy — often some of the most highlighted verses in the entire Bible, and a meaningful category on their own.
- Jesus is King. Verses that show Jesus’s authority, identity, and reign — check out our post on 10 verses that prove Jesus is King, from prophecies fulfilled to His own words about who He is.
If theological categories feel too structured, a mood-based approach works just as well: a section of your favorite passages for comfort, another for strength, another for gratitude. Some people build both — a promises tab and a “verses for hard days” tab existing side by side.
However you sort them, it helps to pair your highlighted verses with a simple reading plan, so you’re not just marking pages but actually working through them in order over weeks or months.
A loaded Bible and a reading plan work well together — the plan gives you a path, and the loaded Bible gives you a place to mark what stands out along the way. Get your free reading plan download to print off at home and keep with your Bible along the way.
Tips & Mistakes to Avoid When Making A Loaded Bible
A few practical lessons that tend to save people frustration — especially on their first loaded Bible.
Loaded Bible Ideas & Inspiration
Final Thoughts
A loaded Bible isn’t really about the tabs, the highlighters, or how polished the finished pages look — it’s about building something that draws you back into Scripture, again and again, in a way that feels genuinely yours.
Some of the most meaningful loaded Bibles aren’t the ones with the most decoration; they’re the ones with the most fingerprints on them, the most worn corners, the most evidence of actually being used.
So don’t wait until you have the “perfect” supplies or the “right” idea to get started. Pick a verse that means something to you today, highlight it, and let the rest build slowly from there.
Whether you’re creating this for yourself or as a gift for someone you love, the goal isn’t a finished project — it’s a Bible that keeps growing right alongside your faith.
If you make one, we’d love to see it — save this post for later, and come back to it any time you need a little inspiration for your next page.
No, you don’t need to know the Bible well before you make a loaded Bible — in fact, the process works just as well as a way to get into Scripture as it does to organize what you already know.
A loaded Bible gives you structure — tabs, themes, highlighted verses — which can actually make daily reading feel less overwhelming for someone just starting out.
The two build on each other naturally: as you read more, you’ll have more to tab, highlight, and reflect on, and the Bible will keep growing alongside your understanding.
If you’re just getting started, our guide on how to read the Bible for beginners is a good companion to work through alongside building your loaded Bible.
Yes, having a dedicated tab for verses about Jesus is one of the most common and useful categories in a loaded Bible.
It gives you a fast, direct path back to passages about who Jesus is, His teachings, and His role throughout Scripture — especially helpful during seasons when you want to return to the center of your faith without flipping through the whole Bible.
Some people combine this with a broader “worship” or “promises” tab, while others keep a Jesus-specific tab entirely separate for quick access.
If you’re not sure where to start filling that tab in, our post on 10 verses that prove Jesus is King is a ready-made list you can pull straight from.
You use your loaded Bible the same way you’d use any well-organized study tool — as a daily entry point into Scripture, not a finished project to admire and set aside.
In practice, that means opening it during regular reading or prayer time, following your tabs to revisit meaningful verses, and adding new highlights, notes, or tip-ins as your understanding grows.
A loaded Bible works best when it’s paired with an actual method of engaging with Scripture, rather than sitting as a one-time craft project.
For ideas on building that kind of consistent practice, our post on all the different methods you can use to learn the Bible walks through several approaches you can pair with your loaded Bible.